X

Partner Login

Enter your username and password here on order to log in on the partner portal:

No registered partner yet?

Register now

7 Tips for Choosing an Inkjet Coding Machine

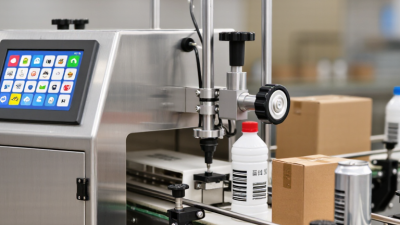
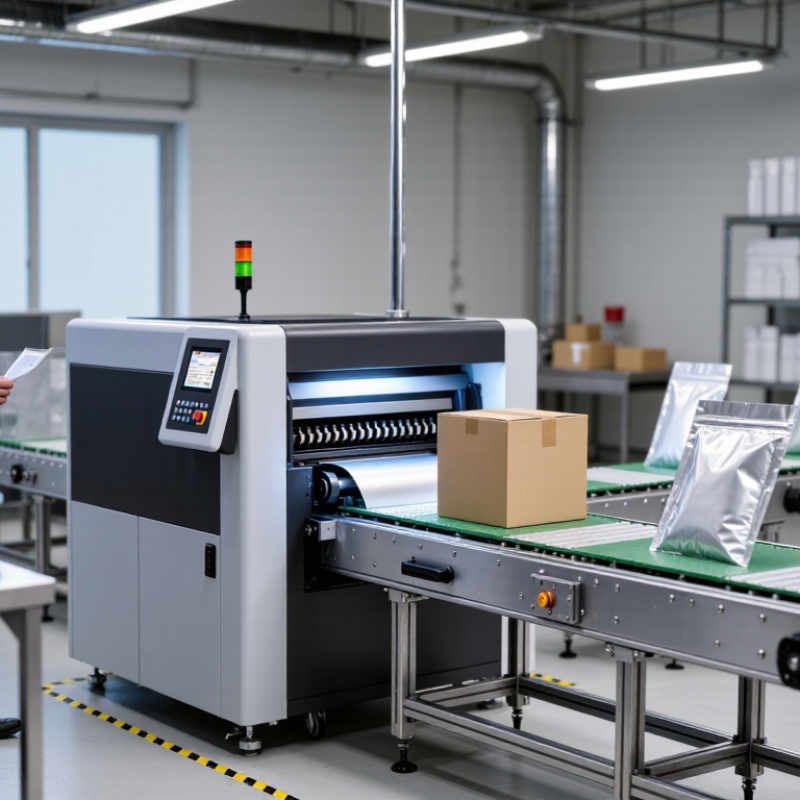
Choosing an Inkjet Coding Machine is not just a matter of comparing prices or print speeds. The right system must fit your product, packaging material, production rate, and cleaning routine. A date code that looks sharp on a stationary sample can blur on a fast-moving pouch. A printer that works well on cardboard may need different ink for glossy film. Small details matter.

For this guide, packaging-line engineer Daniel Mercer is an illustrative expert voice, not a verified interview source. His practical principle is: “Choose the machine for the surface, speed, and service conditions you actually run.” Treat that as a prompt to check real requirements, not as a substitute for a supplier’s technical advice. If you publish this quotation as a real expert statement, have a named specialist verify and approve it first.

The seven tips ahead cover print quality, compatible inks, line speed, installation, maintenance, support, and total operating cost. Bring actual samples to a demonstration. Test them under normal line conditions, including the usual conveyor speed and drying time. Ask how often the printhead needs cleaning, and what happens when a code becomes faint mid-shift. These checks can reveal problems a brochure will not.

There is no perfect machine for every line. A lower purchase price may hide extra setup or service needs. And specifications can look reassuring. Reality is messier. Use the tips to compare equipment against your daily workflow, then confirm important claims with sample tests and written specifications.
7 Tips for Choosing an Inkjet Coding Machine

Define Your Product, Packaging, and Coding Requirements

7 Tips for Choosing an Inkjet Coding Machine

Define Your Product, Packaging, and Coding Requirements

Start with the item being marked, not the machine. Is its surface porous cardboard, glossy film, curved glass, or textured plastic? Material affects ink adhesion and drying time. Temperature, condensation, and dust can also change print quality. Test on the actual product. A sample carton may behave differently from a damp package on a running line.

Next, define what the code must contain and where it needs to appear. Dates, batch identifiers, and short product details need different amounts of space. Check that characters remain readable at the planned print size. Consider whether operators or scanners will need to read them. Small details matter. A code that looks clear on a stationary package may blur when the conveyor speeds up.

Packaging and production conditions matter just as much. Measure available mounting space, line speed, and distance from the print head to the surface. Note any frequent package changes, washdowns, or vibration. These requirements are easy to underestimate; a neat specification on paper may miss the awkward bracket or tight access point on the line. That deserves a second look. Before choosing equipment, run a trial with representative packaging and normal operating conditions, then check adhesion, legibility, and drying. It may take more than one test.

Match Inkjet Technology to Your Production Line

Choosing inkjet technology starts with the product, not the machine brochure. Continuous inkjet (CIJ) can suit fast-moving lines and varied surfaces, including curved bottles or coated cartons. Thermal inkjet (TIJ) is often a practical fit for clean, compact setups and crisp codes on compatible packaging. Neither choice is automatic. Ink adhesion, drying time, and code contrast depend on the actual substrate.

Test samples from production, not just a perfect blank sheet. A tidy lab test can mislead. Run the intended ink on real containers at normal line speed, then check whether codes stay legible after handling.

Consider dust, humidity, washdown, and temperature near the print head. Small details matter. A line with frequent product changes may need quick message setup, while a long, steady run may prioritize uptime and ink supply.

Check mounting space, conveyor clearance, and access for routine cleaning before purchase. A printer can perform well on paper yet struggle when a glossy label flexes around a bottle. That is an easy assumption to miss. Compare test results, service needs, and integration requirements with your operators before settling on a technology.

Compare Print Quality, Speed, and Code Capabilities

Compare print samples on your actual packaging, not glossy brochures. A crisp date on a white carton may blur on a curved, chilled bottle. Test the same code, material, and line speed during a machine trial. Check edge sharpness, contrast, and readability after handling. Small type is unforgiving. Confirm performance at your fastest routine speed, not during a brief demonstration. The 2024 Smart Manufacturing Survey, drawing on 600 manufacturing executives, reported that 86% expect smart manufacturing to be a primary competitiveness driver within five years. This points to growing interest in connected production, but it does not prove any coder’s uptime.

Then match speed and code capability to your production needs. List required content: date, lot number, variable text, or a 2D symbol. Ask how quickly operators can change messages and whether the system can import production data without retyping. Test start-stop behavior; missed prints can hide between otherwise clear codes. For barcode applications, request verification against ISO/IEC 15416 for linear symbols or ISO/IEC 15415 for 2D symbols. A fast machine is not automatically the right machine. Consider maintenance access, ink drying time, and the package’s surface. One detail is easy to overlook: real lines vary, so a successful test under ideal conditions may not predict every shift.

Assess Integration, Maintenance, and Operating Costs

Before choosing an inkjet coding machine, map how it will fit your actual production line. Check conveyor speed, product spacing, mounting points, and signal compatibility with the line controller. Test it on your own packaging. Glossy film, dusty cartons, and curved bottles can affect print quality. A clean demonstration is not enough.

Look closely at routine maintenance. Can operators reach the printhead without moving nearby equipment? Ask how often filters, nozzles, or other serviceable parts need attention, and how long typical cleaning takes. Small details matter. A machine that is awkward to clean may sit idle longer than expected. I have seen planning focus on installation while overlooking the space needed for daily access; it is an easy mistake to make.

Compare operating costs over a realistic period, not just the purchase price. Include ink, makeup fluid if required, replacement parts, scheduled service, and potential downtime. Estimate cost per printed code at your expected line speed and production volume. Ask suppliers to explain assumptions behind their figures, then verify them with a short production trial. A spreadsheet can still miss messy shift changes or fluctuating output, so leave room for uncertainty when comparing options.

Verify Supplier Support and Test the Machine Before Purchase

Supplier support matters most after the first clean print fades into daily production. The 2024 True Cost of Downtime report estimated that unplanned downtime costs the world’s 500 largest companies about $1.4 trillion annually, or 11% of revenue. That figure covers many industries, not coding machines alone, but it shows why service readiness deserves scrutiny. Ask who handles technical questions, how quickly they respond, and whether critical spare parts are stocked nearby. Get those commitments in writing. Small details matter.

Before purchase, run the printer on your actual packaging material, not just a supplier’s sample roll. Test at your normal line speed, then check whether small characters stay sharp and codes resist smearing after handling. Include a restart and a longer continuous run. A lab-perfect sample can still mislead. Request operator training and a documented setup record, including printhead distance, ink settings, and cleaning steps. These notes help staff repeat a good result across shifts.

Watch the service team troubleshoot a deliberate fault, such as a blocked nozzle or missed print trigger. Their explanation can reveal more than a polished demonstration. Check response times, escalation contacts, and training access before signing. One awkward question may expose a real support gap. It is easy to focus on print quality and overlook the human help needed when production is under pressure.

7 Tips for Choosing an Inkjet Coding Machine - Verify Supplier Support and Test the Machine Before Purchase
Tip What to Verify How to Test What to Record
1. Confirm application fit Check that the proposed printer and ink are suitable for the actual product surface, such as paperboard, plastic, glass, or metal. Compatibility depends on the material and its surface condition. Provide representative production samples and print the intended code, including the required characters, logo, or barcode. Substrate type, ink type, print location, code content, and any surface preparation used.
2. Test at production speed Ask the supplier to confirm the machine's specified print speed and how it relates to the production line's actual speed and product spacing. Run samples at the intended line speed and spacing. Check that codes are consistently placed and remain readable. Line speed, product spacing, print position, and the number of correctly printed samples observed.
3. Check print quality and adhesion Agree on the required code size, contrast, legibility, and any applicable barcode or customer acceptance criteria before testing. Inspect printed samples under normal viewing conditions. Test drying and adhesion using a method appropriate to the product and downstream handling. Sample images, inspection method, drying time, adhesion result, and acceptance criteria.
4. Test the full job setup Verify that operators can enter or select the required message, date or lot code, and other variable data using the proposed controls or production-system connection. Set up a representative job, change a variable field, and confirm that the correct message prints on the intended product. Job setup steps, variable fields tested, connection requirements, and any setup errors.
5. Review supplier training and support Ask what installation, operator training, troubleshooting, and remote or on-site support are included. Confirm support hours and response arrangements in writing. Have the supplier demonstrate routine operation and explain how operators can respond to common alerts and perform basic checks. Training scope, support contact process, service hours, response commitments, and any additional charges.
6. Check maintenance and consumables Request the recommended maintenance schedule and a list of required consumables and replacement parts. Confirm storage and handling requirements for inks and fluids. Observe the relevant routine maintenance procedure and ask how the printer behaves after a normal stop and restart. Maintenance tasks and intervals, consumable names, expected usage basis, storage conditions, and replacement-part availability.
7. Complete a documented acceptance test Agree on test conditions and pass criteria before purchase, including the sample product, message, operating speed, and inspection method. Run the agreed test using production-representative materials and operating conditions. Retain samples and document any adjustments or failures. Test date, machine configuration, sample results, exceptions, agreed acceptance status, and any follow-up actions.