How to Choose the Right Grinding Tool for Your Needs?
Choosing the right Grinding Tool starts with the task, not the biggest motor or the lowest price. Removing a weld bead from mild steel calls for a different setup than smoothing a wooden edge or shaping a small metal part. Material matters. Abrasive type, grit, and wheel shape influence how quickly material comes off, how much heat builds, and what finish remains. An angle grinder offers reach and power for larger surfaces, while a die grinder can handle tighter spaces and finer control. Neither is automatically the better choice.
Think about the workpiece, the finish you need, and how long the tool will run. A coarse abrasive may remove stock quickly, but it can leave deep marks that take time to correct. A finer abrasive offers more control, though it may work slowly on heavy material. That trade-off is easy to underestimate. Tool speed and accessory ratings must match the manufacturer’s specifications; check both before use. Also consider grip, vibration, balance, and dust collection, especially during repeated work. A tool that feels manageable for a brief cut may become tiring over a full shift. Inspect accessories for damage, secure the workpiece, and use suitable eye and respiratory protection. If the right choice is unclear, test a compatible accessory on scrap material first. This guide compares key options and practical selection factors, while recognizing that no single tool suits every workshop or finish.
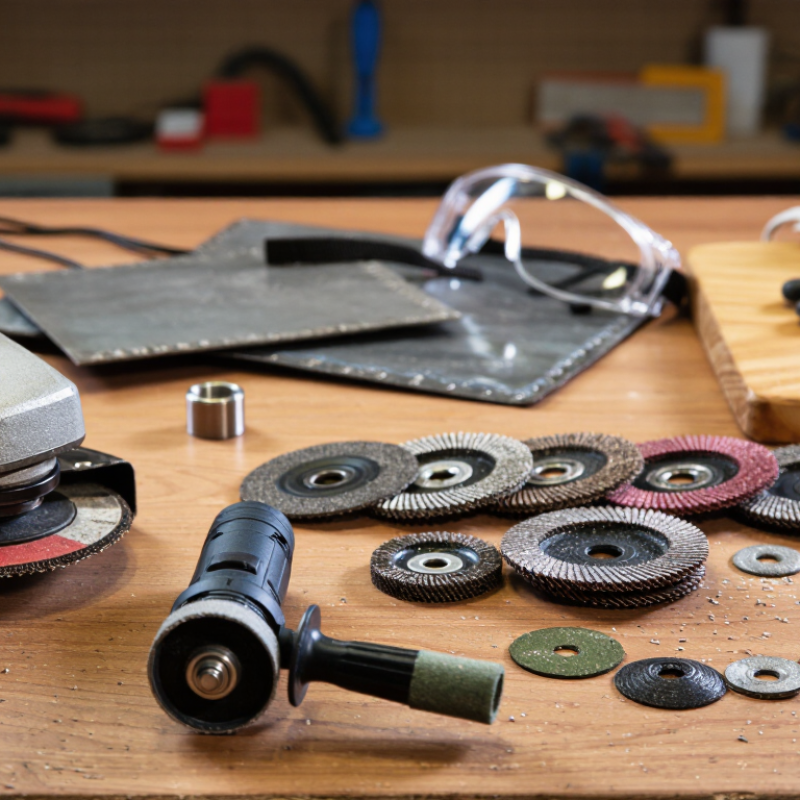
Define the Material and Grinding Task
Before choosing a grinding tool, identify the material and the job. Steel, stainless steel, aluminum, stone, and ceramic respond differently to heat and abrasion. A hard material may need a tougher abrasive, while soft aluminum can load the wheel and smear across its surface. Check the workpiece label or technical sheet when available. Guessing from color alone is unreliable.
Then define the task precisely. Are you removing a weld bead, sharpening an edge, smoothing a cut, or producing a fine finish? Each job needs a different balance of stock removal and control. For example, a coarse abrasive can remove a weld quickly, but it may leave deep scratches that take extra time to remove. A small, curved part also needs a tool that can reach its contours without flattening them.
Consider the workpiece size, shape, and sensitivity to heat. Thin sheet metal can warp if grinding pressure stays in one spot. Use light passes, pause to check temperature, and inspect the surface under good light. In practice, the first choice is not always right; a test on scrap can reveal loading, vibration, or an unexpectedly rough finish. Check that the tool and abrasive are rated for the material and operating speed, and wear suitable eye and respiratory protection.
Choose an Abrasive for the Workpiece Material
General suitability guide for common grinding materials and tasks.
Ratings are a qualitative guide from 1 (limited suitability) to 5 (commonly suitable), not standardized test results. Match the abrasive to the material, then select the tool shape and grit for the task. Use a suitable wheel or disc and follow its safety instructions.
Evaluate Abrasive Materials and Tool Specifications
A grinding tool should match both the workpiece and the task. Aluminum oxide is commonly used for steel, while silicon carbide can suit cast iron, stone, and some nonferrous materials. Diamond abrasives are used for very hard materials, such as ceramics. The best choice still depends on the tool’s design. Material names alone do not tell the whole story.
Check grit, bond, wheel hardness, diameter, thickness, and bore size. Coarse grit removes material quickly but leaves deeper scratches; finer grit gives a smoother finish. Bond affects how firmly abrasive grains stay in place. A hard wheel may work well on softer stock, while a softer wheel can expose fresh grains when grinding harder stock. It is easy to overfocus on grit. I have seen that choice disappoint when the wheel’s bond or fit was wrong.
Match the tool’s rated maximum speed to the machine, and never exceed that rating. Confirm that the wheel fits the spindle and guard correctly. A brief test on scrap can reveal loading, excessive heat, or an unexpectedly rough finish. Watch for changes in sound and vibration. Stop if the wheel is damaged or feels unstable, and use suitable eye and face protection.
Match Tool Size, Power, and Speed to the Job
Choosing a grinding tool starts with the material and the space around it. A compact tool is easier to control on a narrow railing or small repair. Larger tools can cover broad surfaces faster, but their weight may tire your hands. Small tools feel easier. They are not always better.
Match power to the work. Light deburring usually needs less power than removing weld seams or shaping thick steel. If the motor bogs down under pressure, reduce your force and reassess the tool rather than pushing harder. Speed matters too: check that the abrasive wheel is rated for the tool’s maximum speed. Use a suitable wheel size, keep the guard in place, and secure the workpiece before grinding.
In practice, the right balance can take a little trial and error. A high-powered tool may remove material quickly, yet feel awkward on delicate edges. A smaller wheel can reach tight corners, though it may take more passes. I still find that written specifications do not tell the whole story; grip and vibration matter after several minutes of use. Wear eye and hearing protection, and pause if the tool feels unstable or unusually hot.
Check Safety Features and Maintenance Requirements
Before choosing a grinding tool, inspect the safety features you will actually use. The wheel guard should cover the exposed side and stay firmly in place. Check that the switch is easy to reach and stops the tool when released, if that feature is provided. Match the wheel’s rated speed to the tool, and reject wheels with chips, cracks, or other visible damage. A stable side handle can help you control the tool when it catches. Wear eye and hearing protection, and keep loose clothing away from the rotating wheel. Small details matter.
Maintenance needs should fit your routine, not just your plans. Look for clear instructions on replacing wheels, cleaning air vents, and checking the cord or battery. Dust packed into vents can cause overheating, so use the cleaning method recommended by the manufacturer. Disconnect power before inspecting or changing parts. Check the wheel and guard before each use; replace damaged components rather than trying to repair them. In regular workshop use, vibration can gradually loosen fittings. A quick check helps, though it is easy to skip when work is busy. Be honest about that habit: a tool that is difficult to maintain may be poorly suited to your workspace. Keep a simple maintenance log if several people share it.


 Distributors
 SDS Download
 Contact
